Exporting Azure Resources into Terraform with aztfexport
The hungovercoders template.azure.terraform repo is now an absolute beast and a template I frequently use as a starting point for any codebases that will deploy infrastructure to Azure. However, I wanted to know if there was a way to fast-track anyone who doesn’t want to convert their ARM or bicep from first principles into terraform… The answer is yes and it is aztfexport! Lets crack open a can and automate those terraform files!
- Prerequisites
- Import the Resources
- Validate Terraform Resources with Plan
- Add a New Resource
- Apply to a New Resource Group
- Use the Template
Prerequisites
You can either:
- Use the hungovercoders template.azure.terraform repo in a cloud developer environment that will come with absolutely everything you need to get started. See the README for detailed instructions of how to use. The section importing existing azure resources into terraform is essentially the root of this blog post.
OR you will need to install:
Note: For the last three tools I used homebrew to install as part of the docker container for the cloud developer environment that the template produces, see here for details. If you have brew available on your local machine this might be an easier option.
I certainly prefer option (1) as its all done for me. The methods and screenshots below will be based on the template cloud developer environment, but it will still all be relevant to if you perform the tasks locally.
Import the Resources
First ensure you have an empty directory and navigate to that directory by running the following in a terminal:
mkdir tfexport
cd tfexport
You’ll then want to select a resource group that you have permissions on with the account your authenticated with. If you’re using the template repo this will be the account that you have setup with. If you want to do this locally or if you want to change to your individual account for the import, execute the following to change the context to you and the appropriate subscription the resource group resides in, otherwise carry on to the next step.
az login --use-device-code
az account set --subscription "your_subcription_name"
az account show
The resource group I have chose contains:
- A hello world container app
- A key vault
- A serverless cosmos database
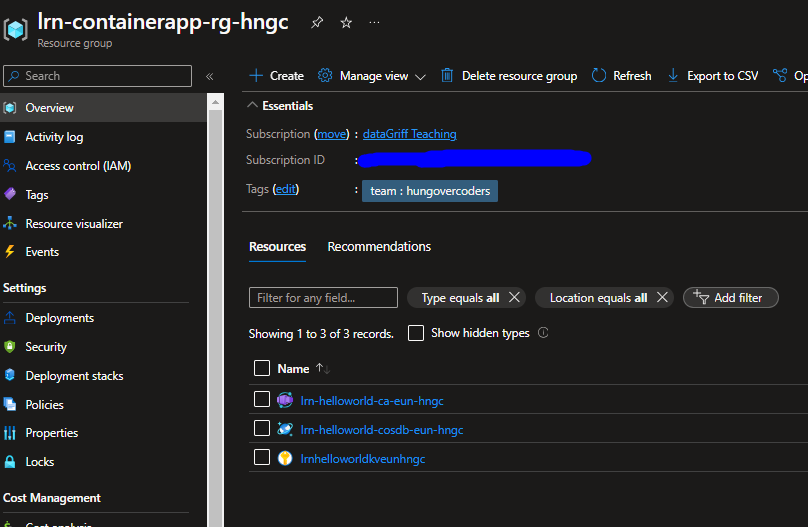
Run the following command from that directory with the rg parameter taking in the resource group you want to import. The below imports a resource group called “lrn-containerapp-rg-hngc” from the subscription we have authenticated against in the previous setup steps.
aztfexport rg lrn-containerapp-rg-hngc
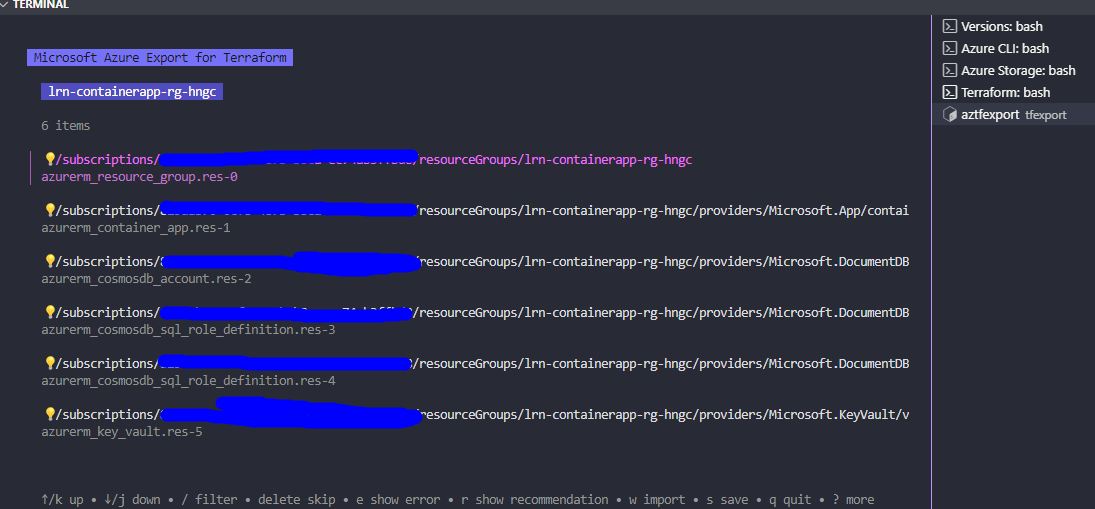
You should see “initializing” in the terminal.
Sometimes there are a load of “skips” you might see as it does not have the ability to import absolutely everything, but this hasn’t been a problem for me so far as they are usually “behind the scenes” type resources. There are a number of options present though and so for now I choose “w” which is just the import all option.
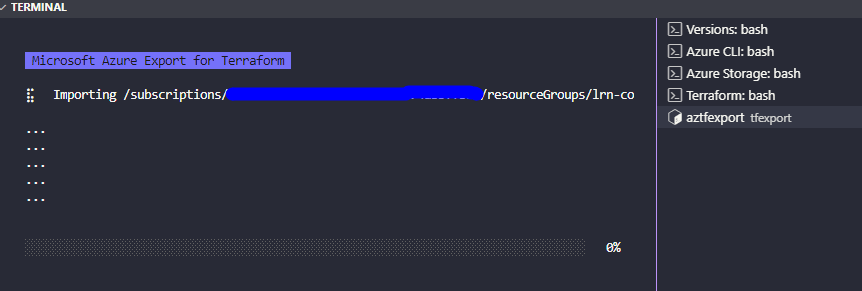
You’ll then see “importing” if it has kicked off correctly.
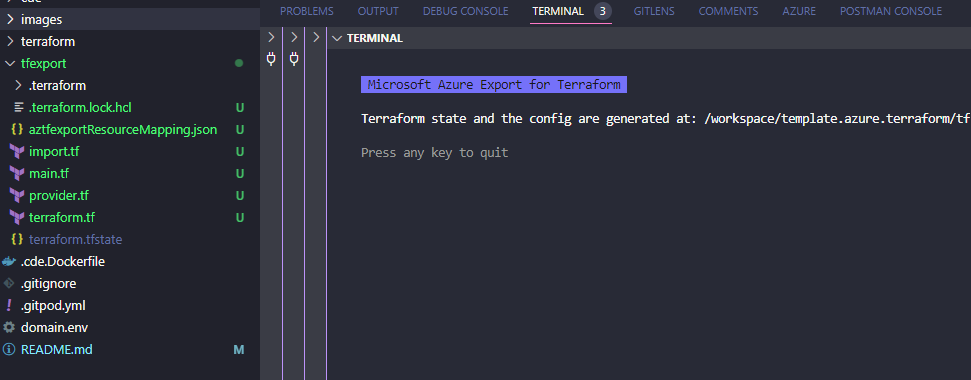
After a period you should see the appropriate terraform files in the directory that you can use as a starting point.
Validate Terraform Resources with Plan
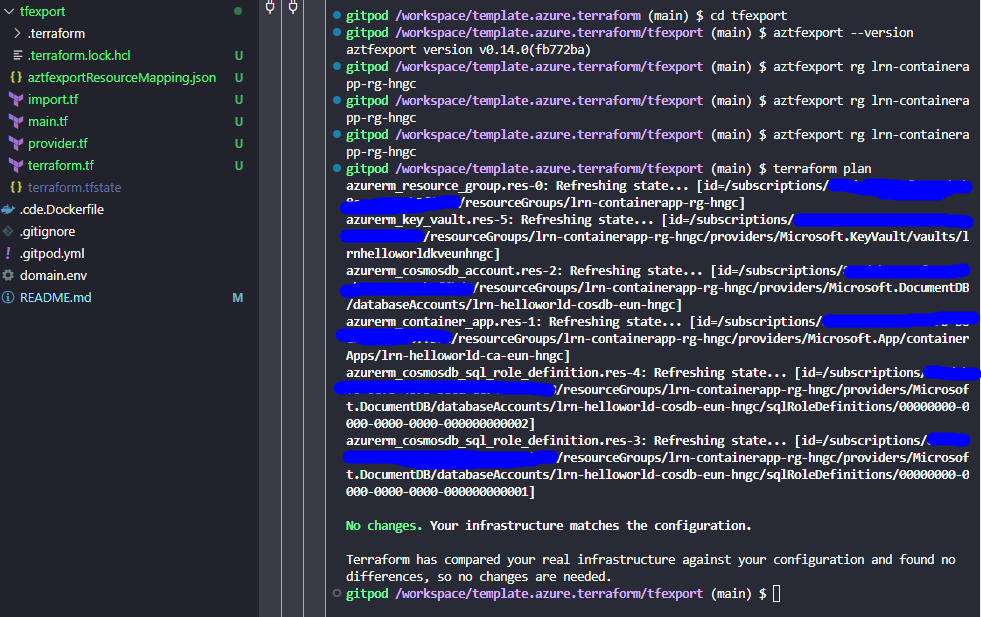
You can then run a terraform plan from the tfexport directory to validate the infrastructure is as you expect with “no changes” in the output.
terraform plan
Add a New Resource
You can quickly make changes to this infrastructure if you wanted. for example if we added the following storage account terraform in the main.tf file:
resource "azurerm_storage_account" "storage" {
  name                     = "lrnhelloworldsaeunhngc"
  resource_group_name      = "${var.environment_shortcode}-containerapp-rg-hngc"
  location                 = "northeurope"
  account_tier             = "Standard"
  account_replication_type = "LRS"
  account_kind             = "StorageV2"
   tags = {
    team = "hungovercoders"
  }
}
Then run terraform plan you can see we immediately have our new infrastructure in code and part of the state ready to add.
Apply to a New Resource Group
We’ll keep this simple and pretend we’re going to take this resource group from learning environment (lrn) to the production environment. To do this we’re going to create an environment variable and allow us to pass that in to change anything referencing “lrn” to “prd”.
We’ll first need to delete the terraform files and migrate the state so that the local state knows that we are going to start referencing brand new resources in a different environment.
Delete the following files and directories:
- import.tf
- .terraform.locl.hcl
- .terraform directory
Then migrate the state:
terraform init -migrate-state
Then amend the main.tf file to take in the variable and amend all the resources to reference this:
e.g.
variable "environment_shortcode" {
  type        = string
  description = "The is the environment shortcode for resources"
  validation {
    condition     = contains(["lrn", "dev", "prd"], var.environment)
    error_message = "The environment shortcode is not valid, it should be lrn, dev or prd."
  }
}

resource "azurerm_resource_group" "res-0" {
  location = "northeurope"
  name     = "${var.environment_shortcode}-containerapp-rg-hngc"
  tags = {
    team = "hungovercoders"
  }
}

##repeat for all resources referencing "lrn"
We now run terraform plan and we can see that resources are going to be added.
terraform plan
Run terraform apply and watch the new resource group get created identical to the learning environment but in “production”.
terraform apply
In this example the resource group at the end looks like the below which is identical but in a “prd” environment instead.
Use the Template
If you’re using the template you can move the imported code into the terraform folder and start tweaking it to meet your needs. This becomes a really quick start to import azure resources into terraform, utilise a cloud developer environment with all the tooling ready and a github actions pipeline ready for you to deploy. Now that is a happy new year!
