Quick Start for Google Analytics 4 Using Google Tag Manager
I want google analytics 4 on my website and I want it now. How else can I ensure that all the hungovercoders are learning all the best tech and finding their local breweries?? The following shows you how to setup a GA4 property and hook it up to your website with google tag manager…
- Pre-Requisites
- Why use Google Analytics 4 and GTM?
- Creating a GA Account, Property and Data Stream
- Using a GTM Container with Standard Tags
Pre-Requisites
You’re going to need a google account so that you can leverage google analytics and google tag manager. There’s then a nice google platform homepage you can use as a portal to leverage these tools (among others).
Why use Google Analytics 4 and GTM?
Google analytics 4 is a great tool to monitor your website with very minimal effort. It offers a huge amount of built in analytics out of the box, it integrates well into google tag manager and allows you to synch a million rows of event data to big query absolutely free - daily! I also have a preference to use google tag manager to manage all GA integration over the site tag as once in place it allows complete management of analytics from GTM without the need for website deploys.
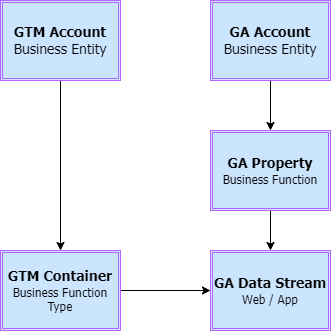
The following setup will look something like the below.
Creating a GA Account, Property and Data Stream
The hierarchy for a google analytics setup is an account, a property and a data stream. The Account tends to be at a business level where you will have a separate legal entity. A property would then map to a brand within that entity. A data stream would then be a particular website or app, where iOs and Android applications need to be separate data streams. The streams all link up to a single property view though so you can see all the interactions from an overall perspective.
Account
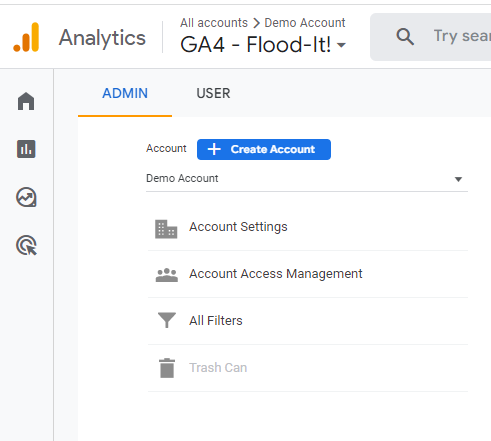
First go to your google analytics, then go to admin and create an account.
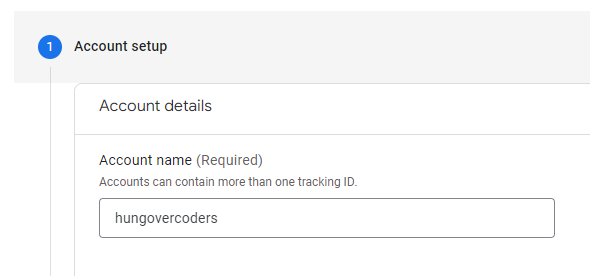
Give the GA account a name and accept the defaults.
Property
Create a property and update local settings.
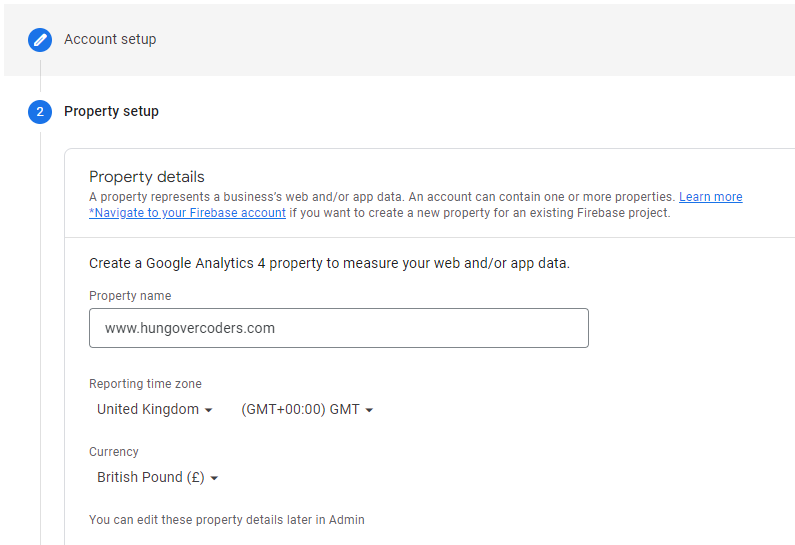
Update your business information and then create.
Data Stream
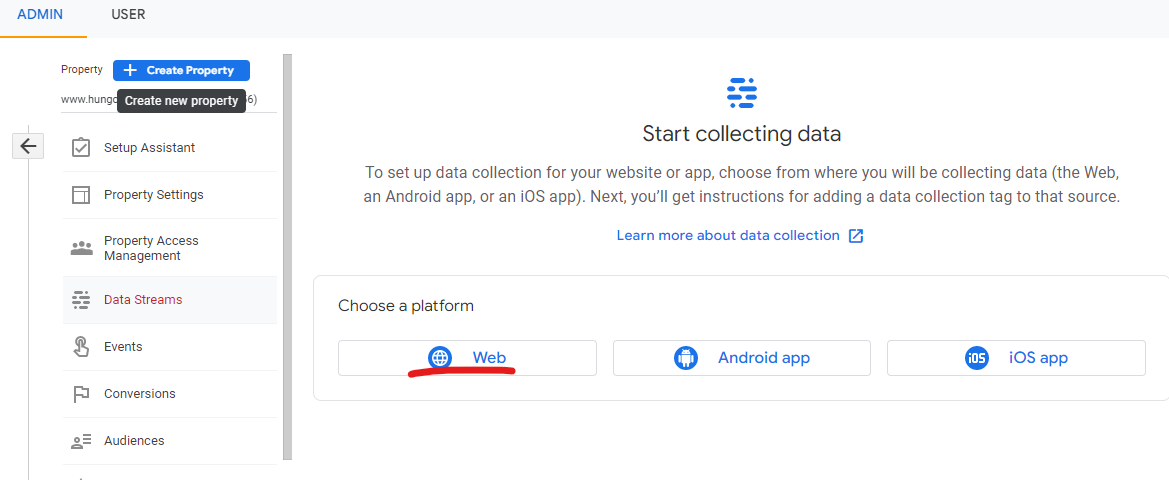
In admin click create data stream for web (as we’re doing a webpage in this instance).
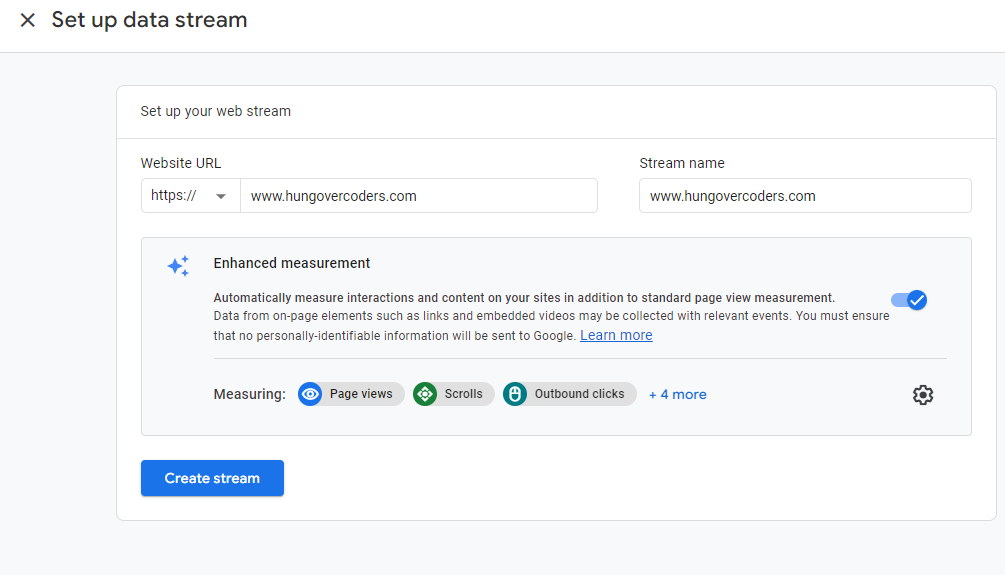
Name the website explicitly and call the data stream the same name.
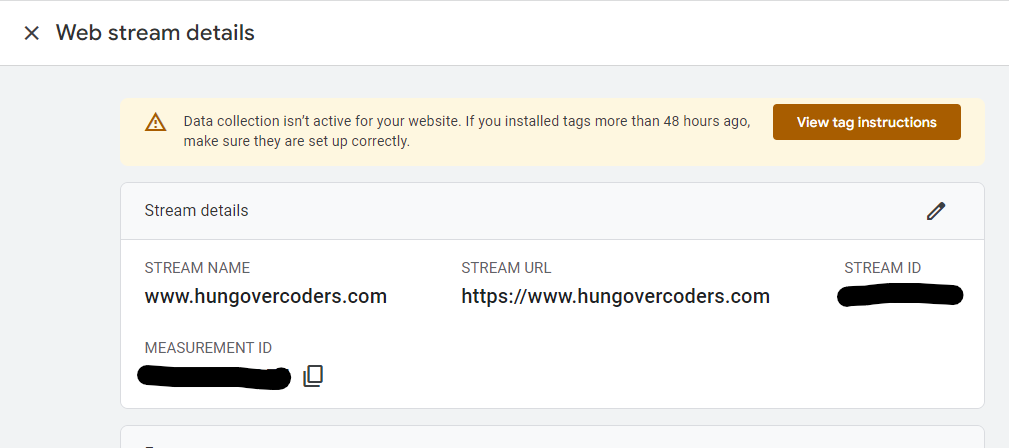
Once created, copy the measurement id ready to use in GTM to configure GA later.
Using a GTM Container with Standard Tags
We’ll create a GTM account first that we’ll consider as mapping at the same level to the GA account we setup previously. The container for GTM will then map to the data stream we created in GA. We could end up with multiple containers mapping to multiple data streams that roll up to a single property in GA, but for now this is our simple quickstart.
Account and Container
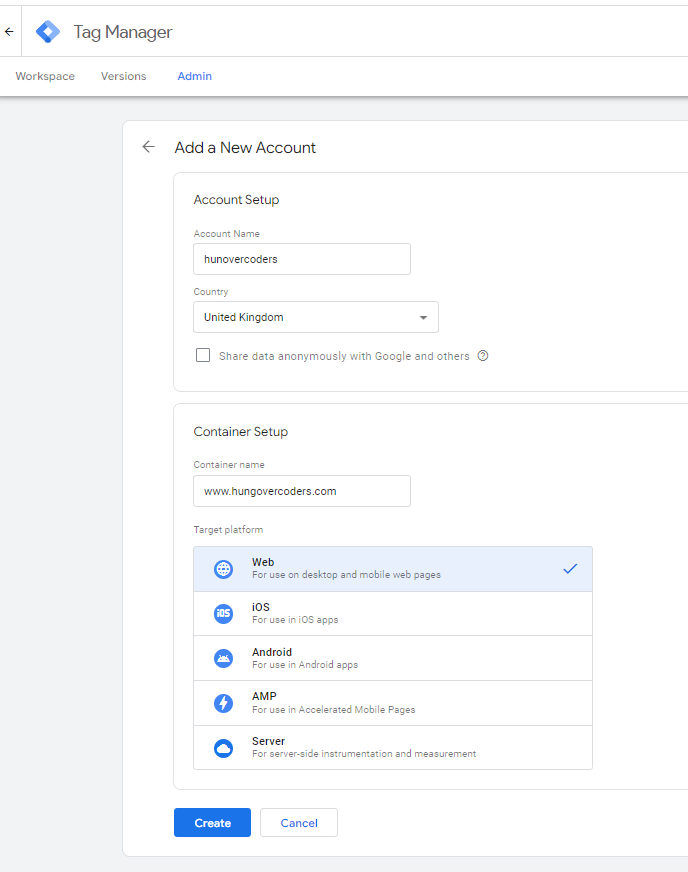
In google tag manager click create account.

Fill in your details and click create.
Add Container to Your Website
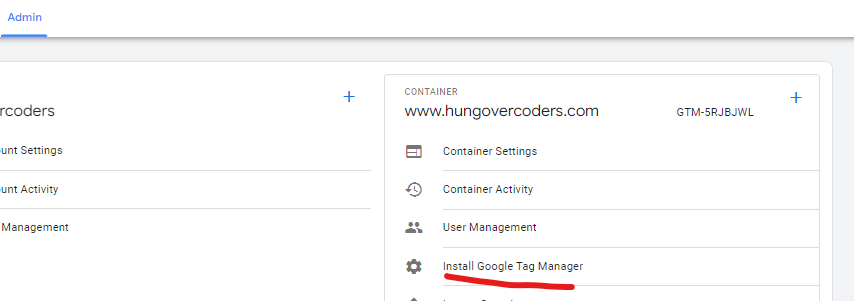
Go to Admin, copy the code and paste it on every page of your website.
Create New GTM Workspace
In google tag manager, to keep all your setup work isolated, in create a new workspace called “setup”.
GA4 Variables
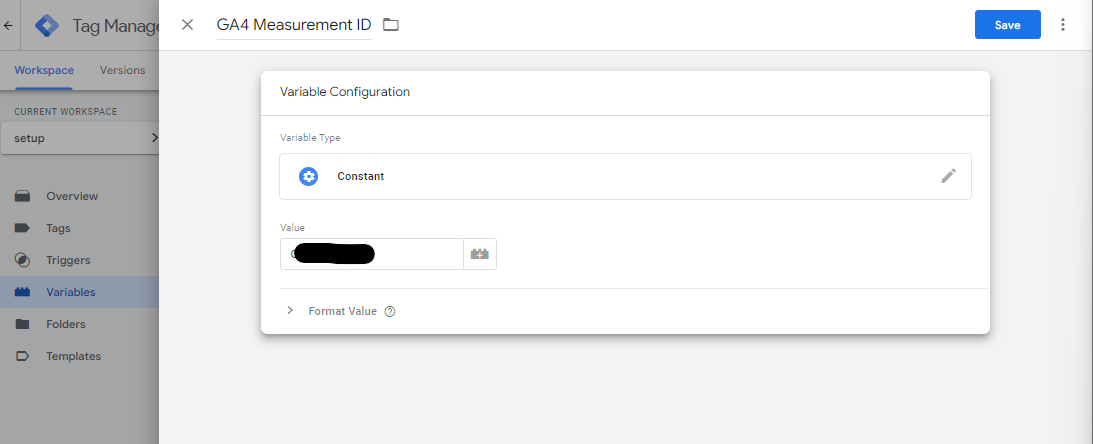
In Variables, create a new constant User-Defined Variable called “GA Measurement ID”. Copy and paste your google analytics measurement ID into here. You’ll either have this saved from earlier or you can get it from your relevant google analytics web data stream.
GA4 Configuration Tag
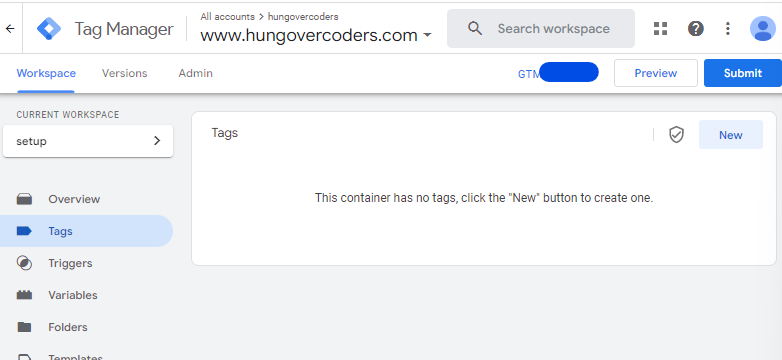
Then go to tags > New.
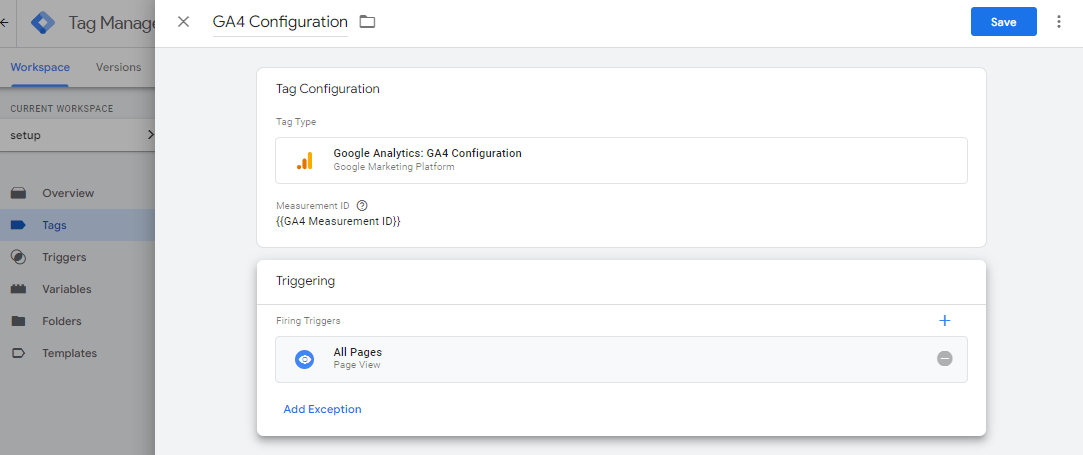
Add a new tag for google analytics: GA4 configuration. Set the measurement ID to be the GA4 MeasurementID you setup in the previous step. Add a trigger and set it to all pages then save your tag.
Preview and Monitor Page Views in GA4
With GTM tags setup for Google Analytics 4 and firing on all page views, we should be able to preview out GTM work and see page views firing in google analytics.
First click preview in your “setup” workspace.

Enter in your domain URL and click connect.
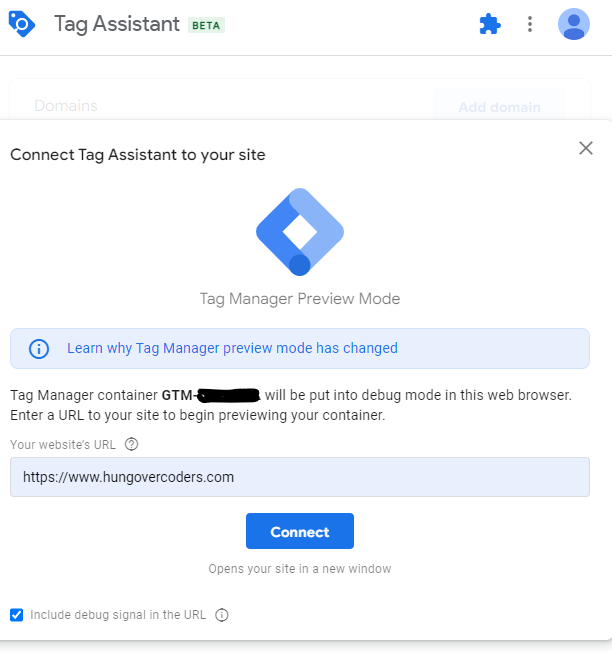
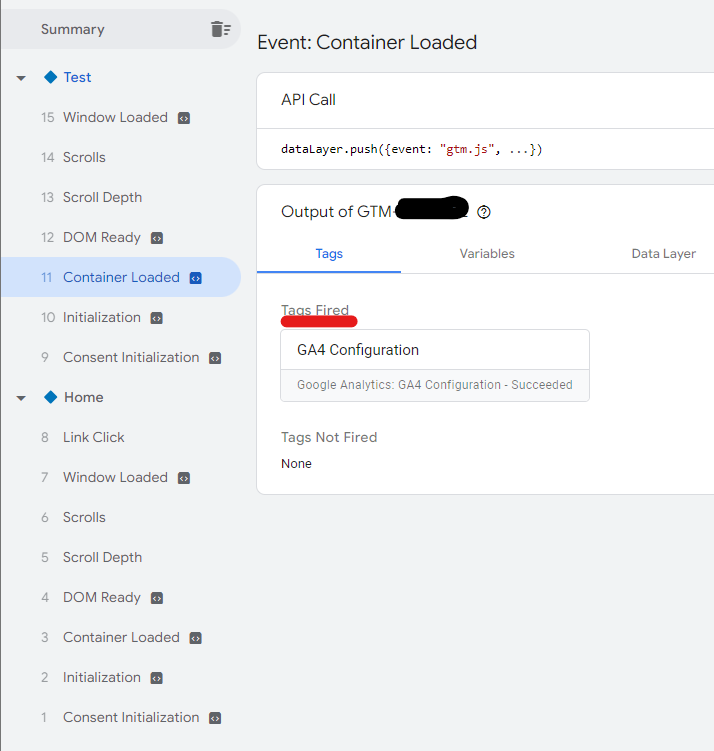
Navigate the website and confirm you can see tags firing on each page view.
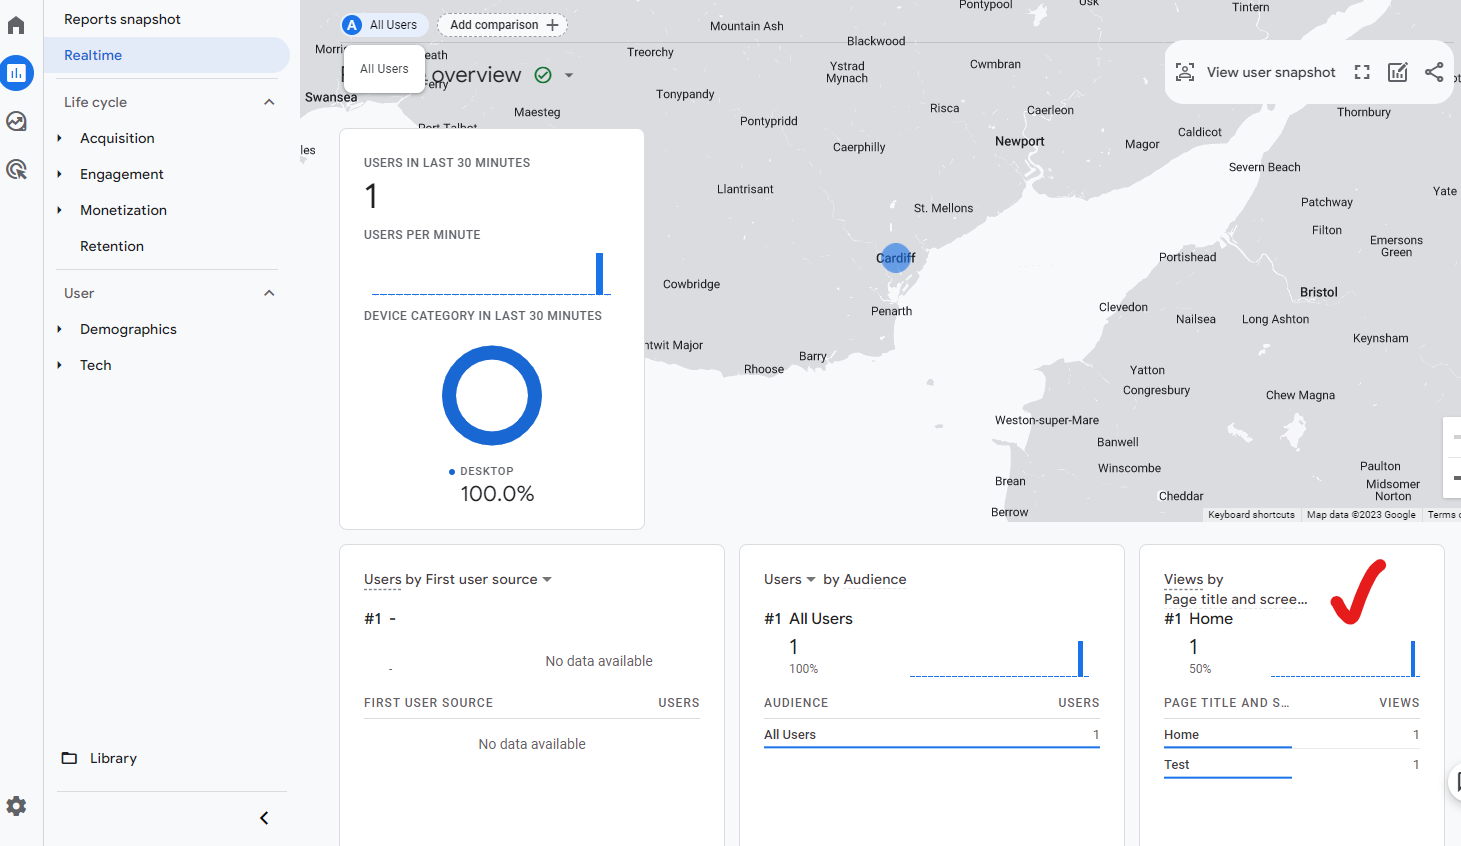
Then go to google analytics, go to reports, choose “real time” and you should see your first page views!
Consent Mode Setup
In order to start collecting google analytics data for real you really should setup consent on your website to ensure customers know what data is being collected about them. You can set this up using this cookie consent mechanism as per this previous blog post.
Publish
Now that you are happy that your tag is firing and sending your first page views to google analytics (with consent!), you can now publish your container to make it live on your website. To do this click submit in your GTM workspace…

Then click publish…
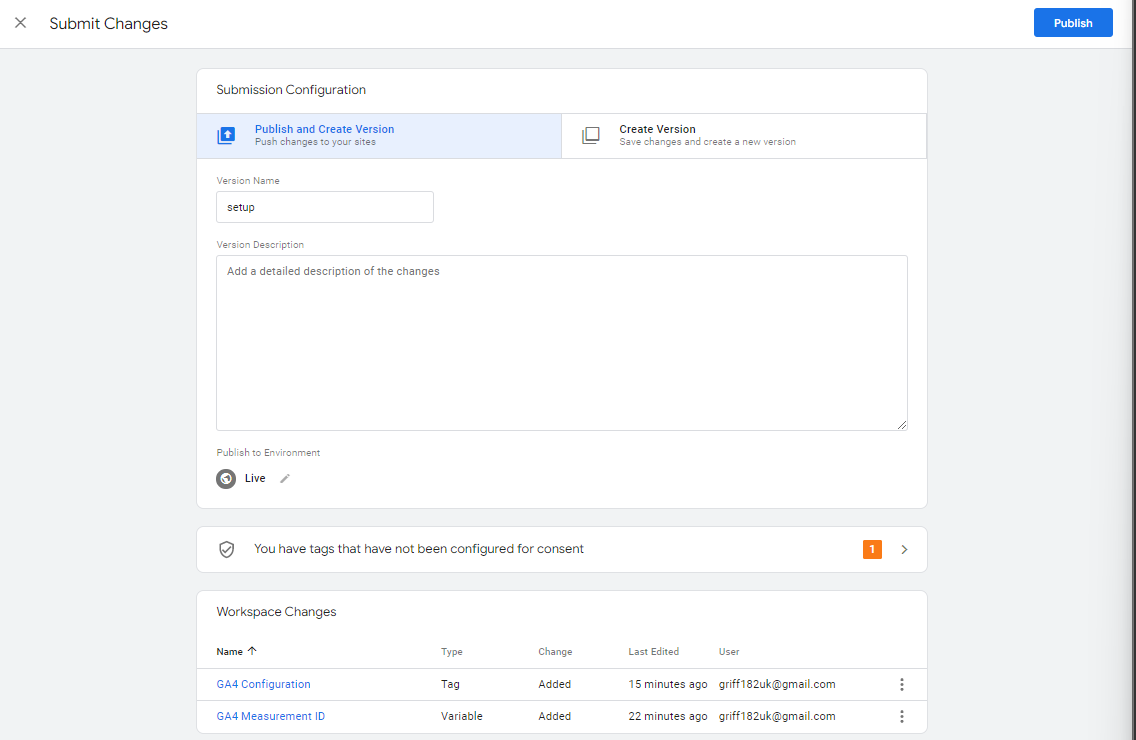
Now that it’s published you should go to your website, navigate a few pages and confirm you can see it in your google analytics property.
Now crack open a can of something lite and watch all those users flood in to your site via the wonders of google analytics. Good code-lite solution for analytics, plenty of time leftover to earn tomorrows hangover.
