Sitting on the docker the beer
In the previous post we created a Beer API using Fast API in python. Now fellow hungovercoders we want to pour this into a docker container and publish in an azure container app, sharing our beer-fuelled goodness with the world!!!
- PreRequisites
- Setup your Codebase
- Setup the FastAPI Code
- Setup the Docker File
- Push your Container to Docker Hub
- Deploy your Container to an Azure Webapp for Containers
PreRequisites
- You’ll need python installed.
- You’ll need a decent IDE - I use visual studio code.
- Ideally you should have git installed.
- You’ll need to install docker. I highly recommend going through the docker tutorial once you have it installed, its very cool.
- You’ll need a docker account which you can get for free.
-
You’ll need an azure account which you can get for free.
Setup your Codebase
In your favourite IDE setup a folder structure like the following.
beerapi
│   README.md
│   requirements.txt
|   .gitignore
|   Dockerfile
│
└───app
│   │   main.py
│   │   __init__.py
In the requirements.txt file add these three rows which will import the libraries we need to create our FastAPI.
fastapi
pydantic
uvicorn
Setup the FastAPI Code
We’re going to use exactly the same beer API shown in the previous blog for our new docker hosted API. It gives just enough functionality to test with and is full of beer! Copy and paste the following code into your main.py file. For this exercise, we’re going to leave the init.py file empty.
from fastapi import FastAPI, status, Response, Body
from pydantic import BaseModel, Field
from typing import Union, List
from enum import Enum

class Flavour(str, Enum):
    """This is a flavour of a beer

    Args:
        str (_type_): _description_
        Enum (_type_): _description_
    """
    HOPPY = "Hoppy"
    CHOCOLATE = "Chocolate"
    CARAMEL = "Caramel"
    ORANGE = "Orange"

class Beer(BaseModel):
    """This is a beer

    Args:
        BaseModel (_type_): _description_
    """
    name: str = Field(example="Mike Rayer"
                      ,description="This is the name of the beer")
    brewer: str = Field(example="Crafty Devil"
                        ,description="This is the name of the brewer of the beer")
    strength: float = Field(gt=0,lt=100,example=5.2
                            ,description="This is the strength of the alcohol in the beer")
    flavours: Union[List[Flavour], None] = Field(default=None
                                                 ,example=["Caramel"]
                                                 ,description="These are the lists \
                                                 of flavours in the beer")

beer_list = []
beer = Beer(name="Mike Rayer",brewer="Crafty Devil",strength=4.6)
beer_list.append(beer)
beer = Beer(name="Stay Puft",brewer="Tiny Rebel",strength=4.8)
beer_list.append(beer)

app = FastAPI()

@app.get("/")
async def root():
    """Welcomes you to the beer API

    Returns:
        string: Welcome message
    """
    return "Welcome to the beer API!"

@app.get("/beers/")
async def get_beers(response: Response):
    """Returns all available beers

    Returns:
        list[Beer]: Returns a list of beer objects
    """
    response.status_code=status.HTTP_200_OK
    return beer_list
@app.post("/beers/")
async def create_beer(response: Response, beer: Beer= Body(
        examples={
            "normal": {
                "summary": "A normal example",
                "description": "A **normal** item works correctly.",
                "value": {
                    "name": "Elvis Juice",
                    "brewer": "Brewdog",
                    "strength": 4.6
                },
            },
             "beerTooStrong": {
                "summary": "Too strong beer fails",
                "description": "This is a beer with a strength above 100%.",
                "value": {
                    "name": "Elvis Juice",
                    "brewer": "Brewdog",
                    "strength": 101.0
                },
            },
            "beerTooWeak": {
                "summary": "Too weak beer fails",
                "description": "This is a beer with a strength below 0%.",
                "value": {
                    "name": "Elvis Juice",
                    "brewer": "Brewdog",
                    "strength": -1.0
                },
            },
            "invalidMissingStrength": {
                "summary": "Beers without a strength are rejected",
                "description": "Beers without a strength are rejected",
                "value": {
                    "name": "Mike Rayer",
                    "brewer": "Crafty Devil"
                },
            },
            "beerGoodFlavour": {
                "summary": "Good flavour addition",
                "description": "This is a beer with an allowable list of flavours",
                "value": {
                    "name": "Old Abbot",
                    "brewer": "Hogwarts",
                    "strength": 5.0,
                    "flavours": ["Orange","Caramel"],
                },
            },
            "beerBadFlavour": {
                "summary": "Good flavour addition",
                "description": "This is a beer with an allowable list of flavours",
                "value": {
                    "name": "Hobgoblin",
                    "brewer": "Wychwood",
                    "strength": 4.3,
                    "flavours": ["Orange","Toothpaste"],
                },
            }
        },
    )):
    """Creates a new beer

    Args:
        beer (Beer): A beer object with the properties specified in the schemas.

    Returns:
        string: Description of whether beer is added.
    """
    if beer not in beer_list:
        beer_list.append(beer)
        content = f'Beer "{beer.name}" Added.'
        response.status_code=status.HTTP_201_CREATED
        return content
Setup the Docker File
The FastAPI documentation strikes again and teaches you quite easily how to utilise it with docker.
In the Dockerfile in your directory add the following code:
FROM python:3.9

WORKDIR /code

COPY ./requirements.txt /code/requirements.txt

RUN pip install --no-cache-dir --upgrade -r /code/requirements.txt

COPY ./app /code/app

CMD ["uvicorn", "app.main:app", "--host", "0.0.0.0", "--port", "80"]
This starts from a base python image, sets a working directory, copies over the required libraries in the requirements.txt file, installs the libraries, copies the app code and then finally runs the app on port 80. The order of the docker file is important and the pip install step will be cached if nothing has changed in the requirements file. This will make your build of the image much faster than if you did the copy app code across first, as the app code is likely to change more and so break what you could potentially cache in a layered order.
Open your terminal in Visual Studio code in the directory that contains the Dockerfile and the app folder, then run the following:
docker build -t imagebeerapi .
To run the image run the following in the terminal in the same directory:
docker run -d --name containerbeerapi -p 80:80 imagebeerapi
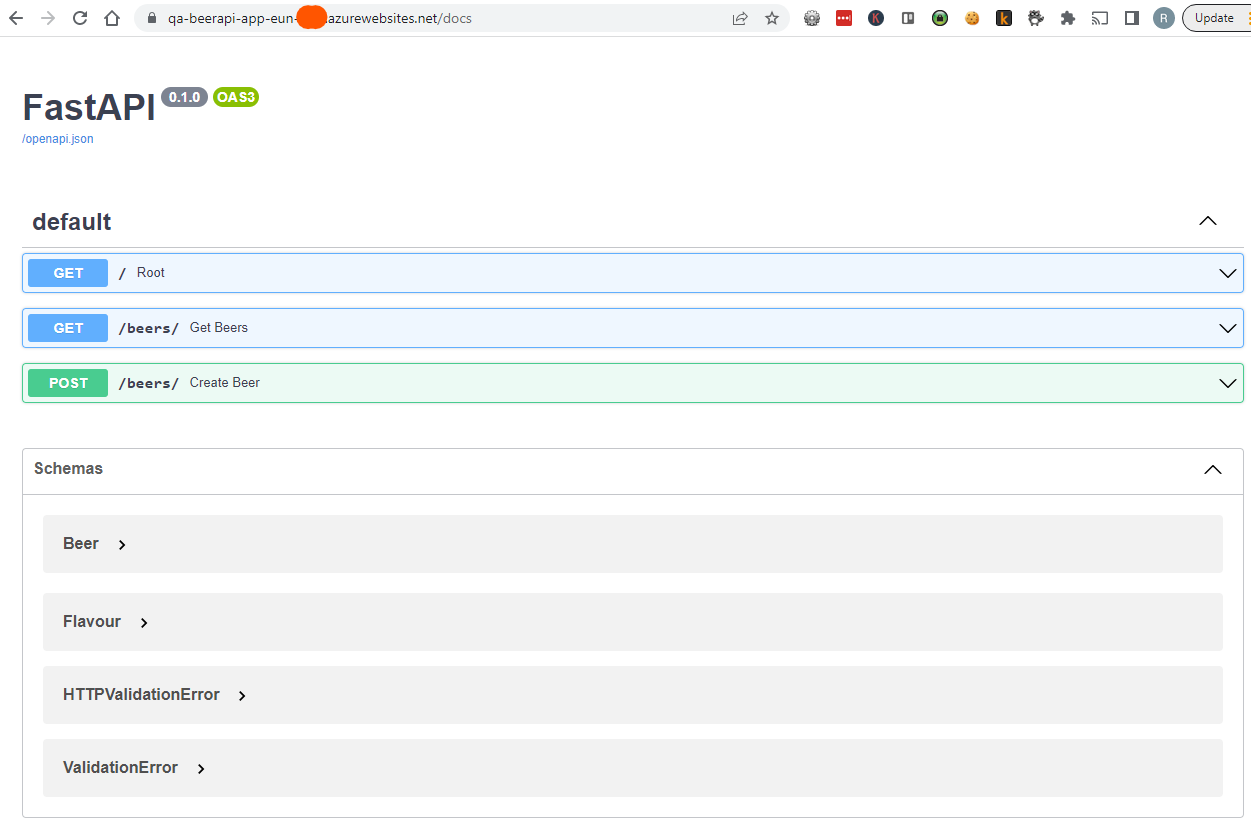
In docker desktop you should now see a new container running called “beerapi”. If you now go to http://localhost/beers you will get the beers in your beerapi. If you go to http://localhost/docs you get to see all the lovely swagger we have come to know and love from FastAPI, just all running in a container! You’ll also note you didn’t have to create a virtual environment for your python code when using the docker container, as all the dependencies and environment is handled within your container!
Push your Container to Docker Hub
We now want to push the beer image to your docker hub account. First of all you need to login to docker in your IDE terminal by running the following, replacing dockername with your docker account:
docker login -u {dockername}
We now need to tag your image with a new name so that it is recognised when we push it to docker. Run the following command:
docker tag imagebeerapi {dockername}/beerapi
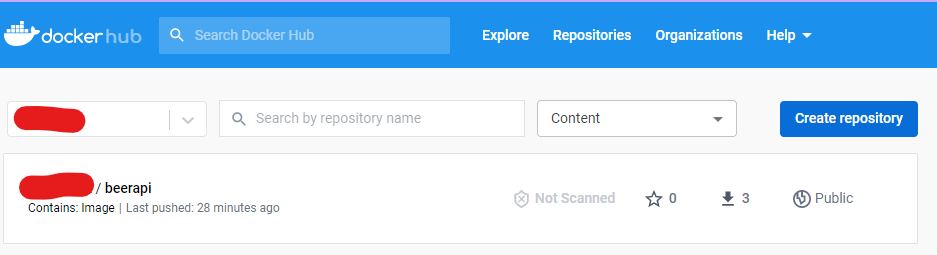
Finally run the below and the image will now be available globally from your docker account!
docker push {dockername}/beerapi
This will now mean we can then pull the images into our applications that can be pretty much hosted from anywhere, such as Azure…
Deploy your Container to an Azure Webapp for Containers
Faster than you can down ten pints of stay puft, lets get out new Beer API container hosted in the Azure cloud! In your IDE terminal run the following to login to the Azure portal using the Azure CLI. You’ll likely be taken to a login browser screen and then receive the message “login successful!” in the terminal.
az login
We now want to create a resource group to host our beer api. I tend to use the following format {env}-{service}-rg. Run the following code to create a new resource group called dv-beerapi-rg in northeurope. Feel free to change the region somewhere closer to home.
az group create --name dv-beerapi-rg --location northeurope
Now we’ll create a basic app plan to host our web app on. This will be about a tenner a month so kill it if not going to continue to use it once done. The following command just needs you to add a “uniquenamespace”, which is just a couple of characters to ensure your resource is globally unique. The new app plan will be created in the resource group created above.
az appservice plan create -n dv-beerapi-apl-eun-{uniquenamespace} -g qa-beerapi-rg --is-linux
Finally we create a web app that utilises the app plan and pulls the beerapi we pushed up to docker as the image for the application. Again just make sure you replace the “uniquenamespace” with what you used above and alter the “dockername” to be from your account.
az webapp create --resource-group dv-beerapi-rg --plan dv-beerapi-apl-eun-{uniquenamespace} --name dv-beerapi-app-eun-{uniquenamespace} --deployment-container-image-name registry.hub.docker.com/{dockername}/beerapi:latest
You should now have a resource group that looks something like this…
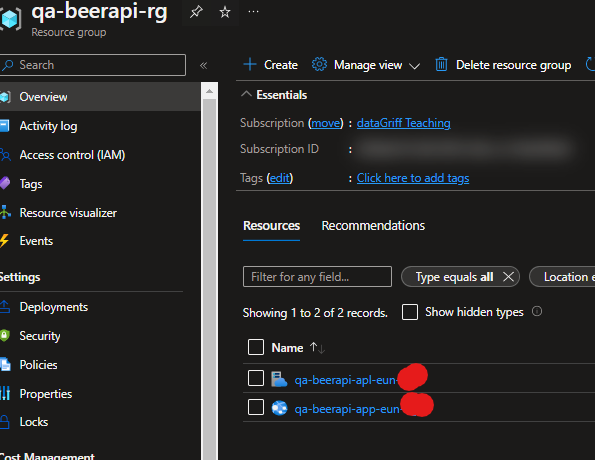
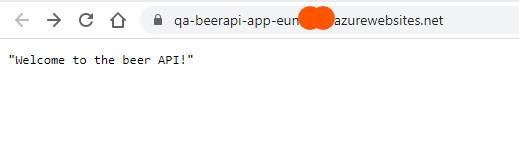
If you now go to the URL of the webapp you will get the welcome message for the API!
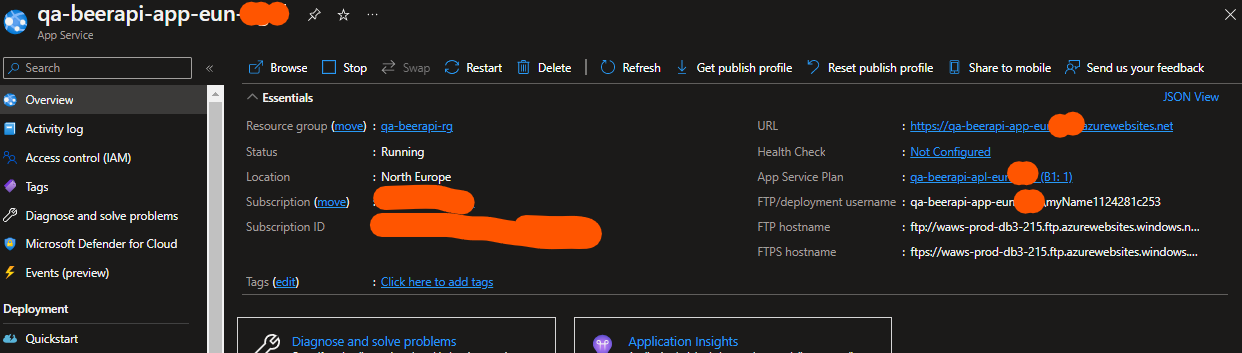
This will now behave just like if we had the API running locally but now its available from all over the world! The cool thing about azure container web apps over azure container instances is that it does a lot of the boring configuration work for you. You’ll notice that HTTPS and TLS 1.2 is out of the box so you’re secure by default. Phew. Easy to forget to lock up after a few pints…